This week I figured I’d get started on some Wilds of Organica-related items, since the last couple weeks have been pretty landscaping and decor-heavy.
Linden Lab have taken the past few weeks off, as far as Content Creation user group meetings – they will resume tomorrow (Feb 15, 2018) at 1PM SLT, on Animesh 1 region (on ADITI grid).
It’s hard to gauge how much longer the testing period will take. When we last met, it seemed like development was ongoing, but felt like we were moving a bit closer toward final performance and animesh limits testing. There has been some push in terms of increasing the triangle limit, however I’m still of the opinion that 50K is far more than enough.
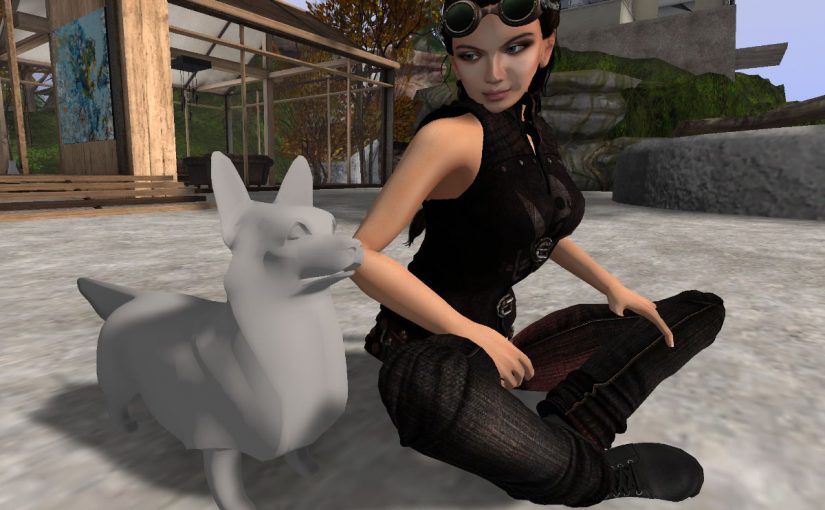
With that said, I’ve begun development on a new WoO product this week that would likely see use as either an avatar, animesh, or both. We’ll see how development goes moving forward – I’m excited to see just how well it can be implemented, given the positive experience I’ve had popping in animations and some basic scripts for existing content thus far.
When I’ve chosen a real-world subject, typically I’ll look up some basic reference material to get the proportions down. In this case, it’s mostly been looking up corgis on Google Image search. It’s easy to get caught up researching cute critters and your search results are likely to be the same as mine, so suffice it to say that I use such references as a touchstone to develop an idea of what age and proportion I want my avatar to be.
My preference, from a stylistic point of view, is to avoid being photorealistic in my translation of a real dog to SL dog. I don’t really enjoy the uncanny-valley look that often comes from taking references completely from photograph to projected final texture, so usually these references become proportional and very general references later on when I paint my fur textures manually.
In this case, I was going for non-puppy, but still on the young side, just to get a nice balance between lovable huge ears and adorable elongated & lowered carriage. I’ve also elected to go the non-docked route, although a bobtail option might be in the cards at some point.
The early hours of my avatar making process usually start with something very simple – like a box with some very simple extruded faces, to block out limbs, head, etc. Once I feel i have the main proportions down, I will usually toss on a few modifiers to help me get a clear idea of what the final product will look like, even if i might not apply all of these modifiers by the end of the project.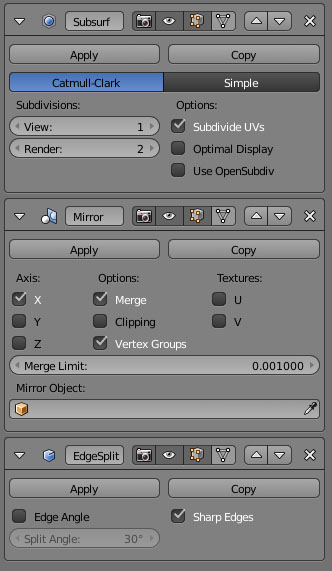
By using a SubSurf modifier, I can non-destructively visualize how my geometry might look if i were to subdivide and smooth. I don’t typically ever apply this modifier permanently because it’s too easy to just apply it and call it a day, without addressing some of the geometry problems that it introduces.
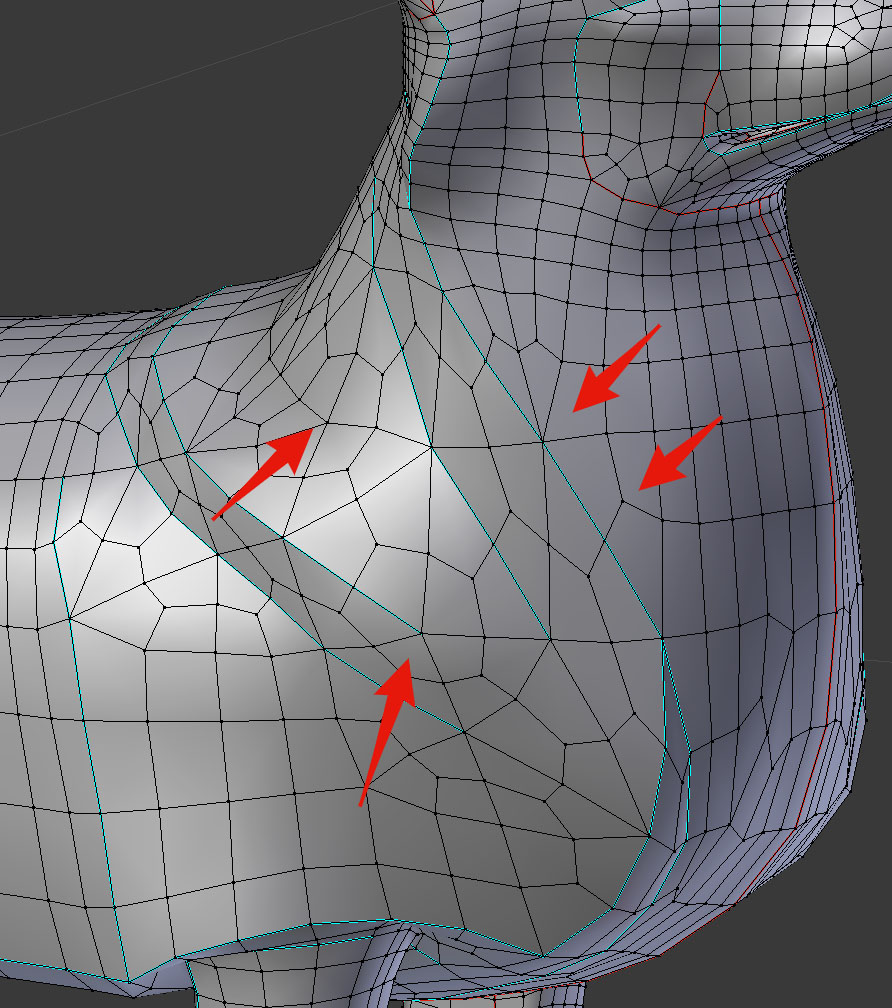
In particular, SubSurf tends to cause geometry to form vertices which either branch off in three or five directions, which is not ideal from an edge-flow perspective. Also, it’s typically a lot more efficient to add edge loops and rings in areas where necessary, as opposed to allowing a modifier to add them all over your model.
I tend to add some edge loops and rings to some degree at this stage, to get the basic silhouette established, but do tend to add more later on, during the rigging stage, for added flexibility and attention to specific bone weights. One might conceivably use the ‘simple’ subdivision method rather than Catmull-Clark, however that subdivision method will not apply any vertex to vertex smoothing calculation and, at least for this use case, does little to add to this workflow.
I will typically mix the SubSurf modifier along with a Mirror and EdgeSplit modifier.
The Mirror modifier allows me to model on one side-only and have those changes propagate symmetrically.
I usually add an EdgeSplit modifier to help visualize the edge-flow of my model – in this case to help define key features in the surface as well as to give some definition to the fur.
I usually turn off angle calculations for this modifier, opting instead to define my sharp edges manually by right-clicking a sequence of edges, hitting Control E, then selecting ‘Mark Sharp’. Basically I want to adjust the geometry based on shapes I want to add to it, rather than adjusting the geometry based on what I have so far.
This helps to give the mesh a more distinct silhouette and to give me a better idea of how the geometry will need to be broken down later from the standpoint of someone who needs to rig and animate. As with the SubSurf modifier, unless I actually need a very sharp edge in my final model, I usually don’t permanently apply this modifier permanently either, since the resulting edge-splits will cause duplicate vertices that are not always necessary.
Below, you can see the difference between my Mirrored model (with no other modifiers added, but faces rendered as smooth), my mirrored model with edge-split, and finally with SubSurface divisions.
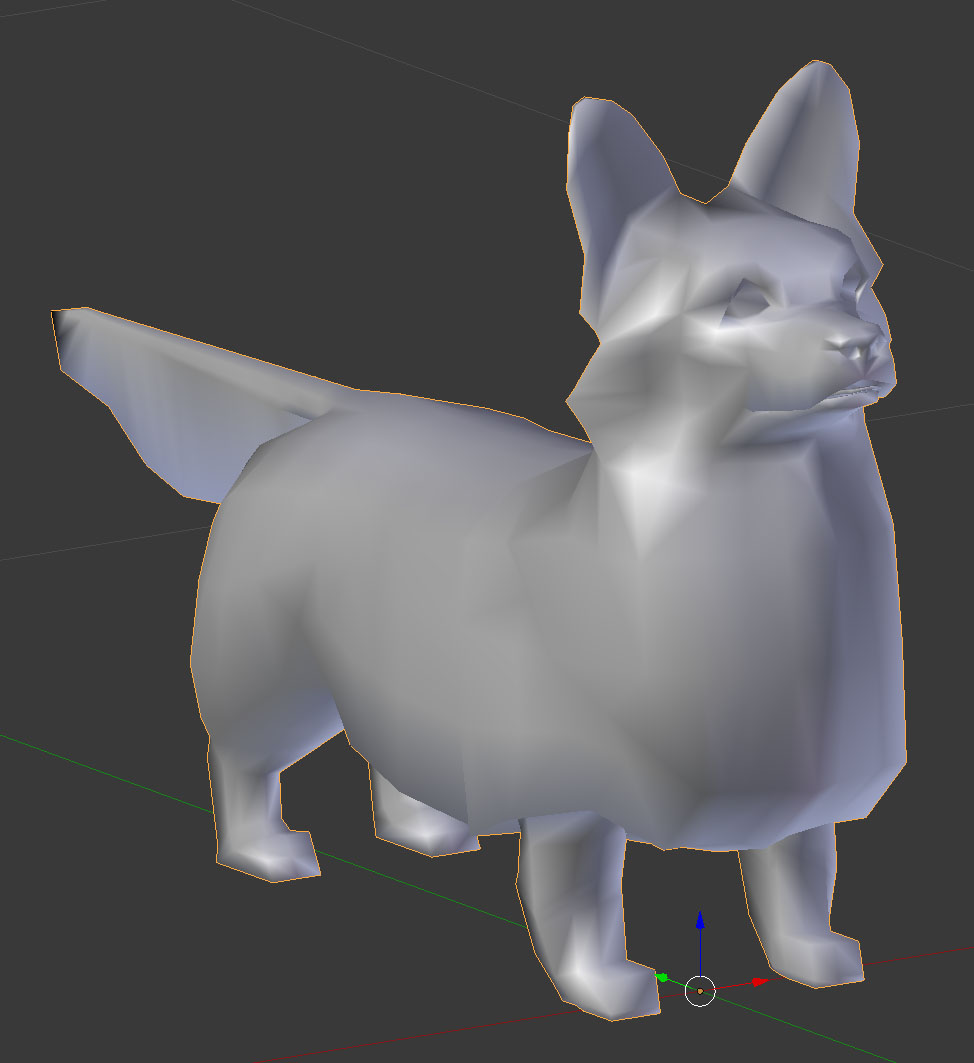
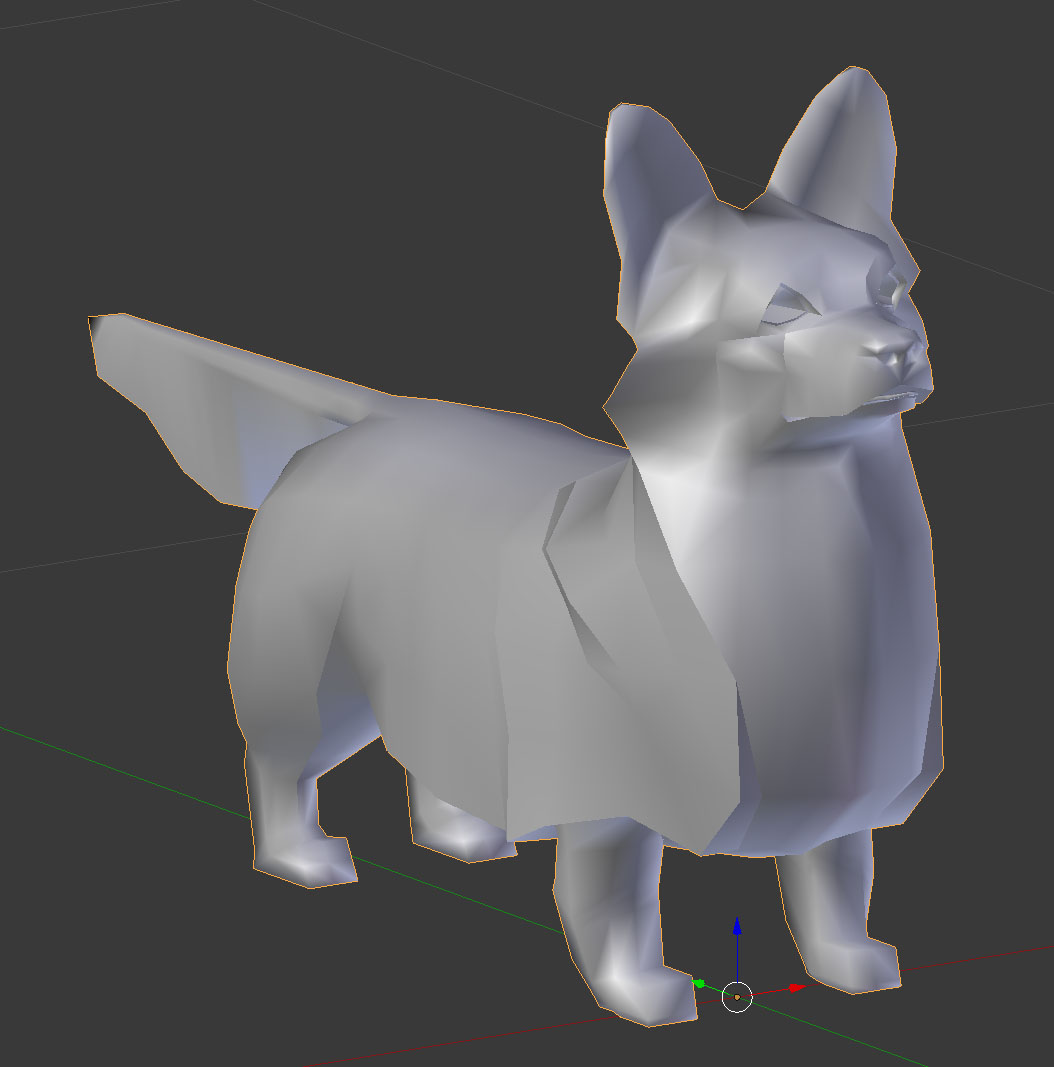
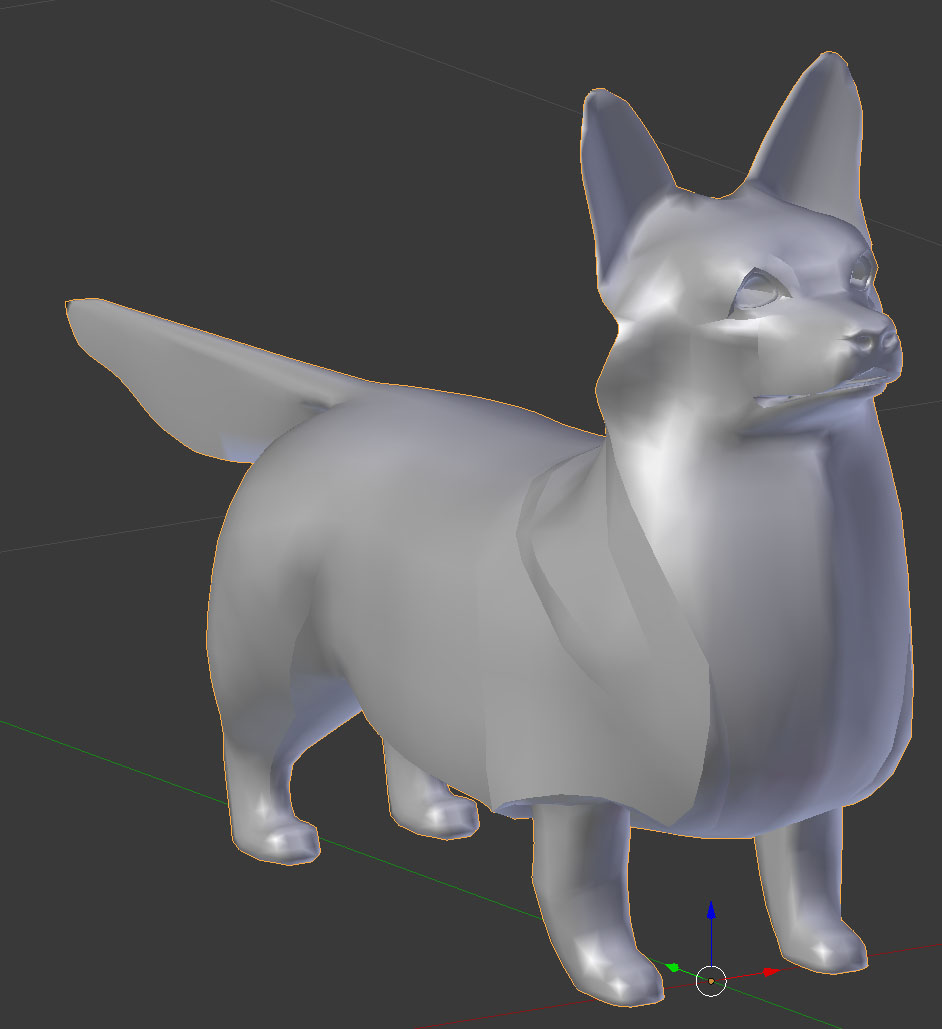
Once I am happy with this edgeflow and overall shape, I will usually begin modifying the Avastar Extended Bento skeleton to fit the avatar.
We’ll cover this, along with rigging our corgi, next week.
If you like what you see but don’t think it’s quite right for you, perhaps consider donating to my Patreon? Your continued support helps to produce weekly content (written, modelled, animated or otherwise) and helps to keep original content creation in Second Life!
